Trappe Digital LLC may earn commissions from sponsored links and content. When you click and buy you also support us.
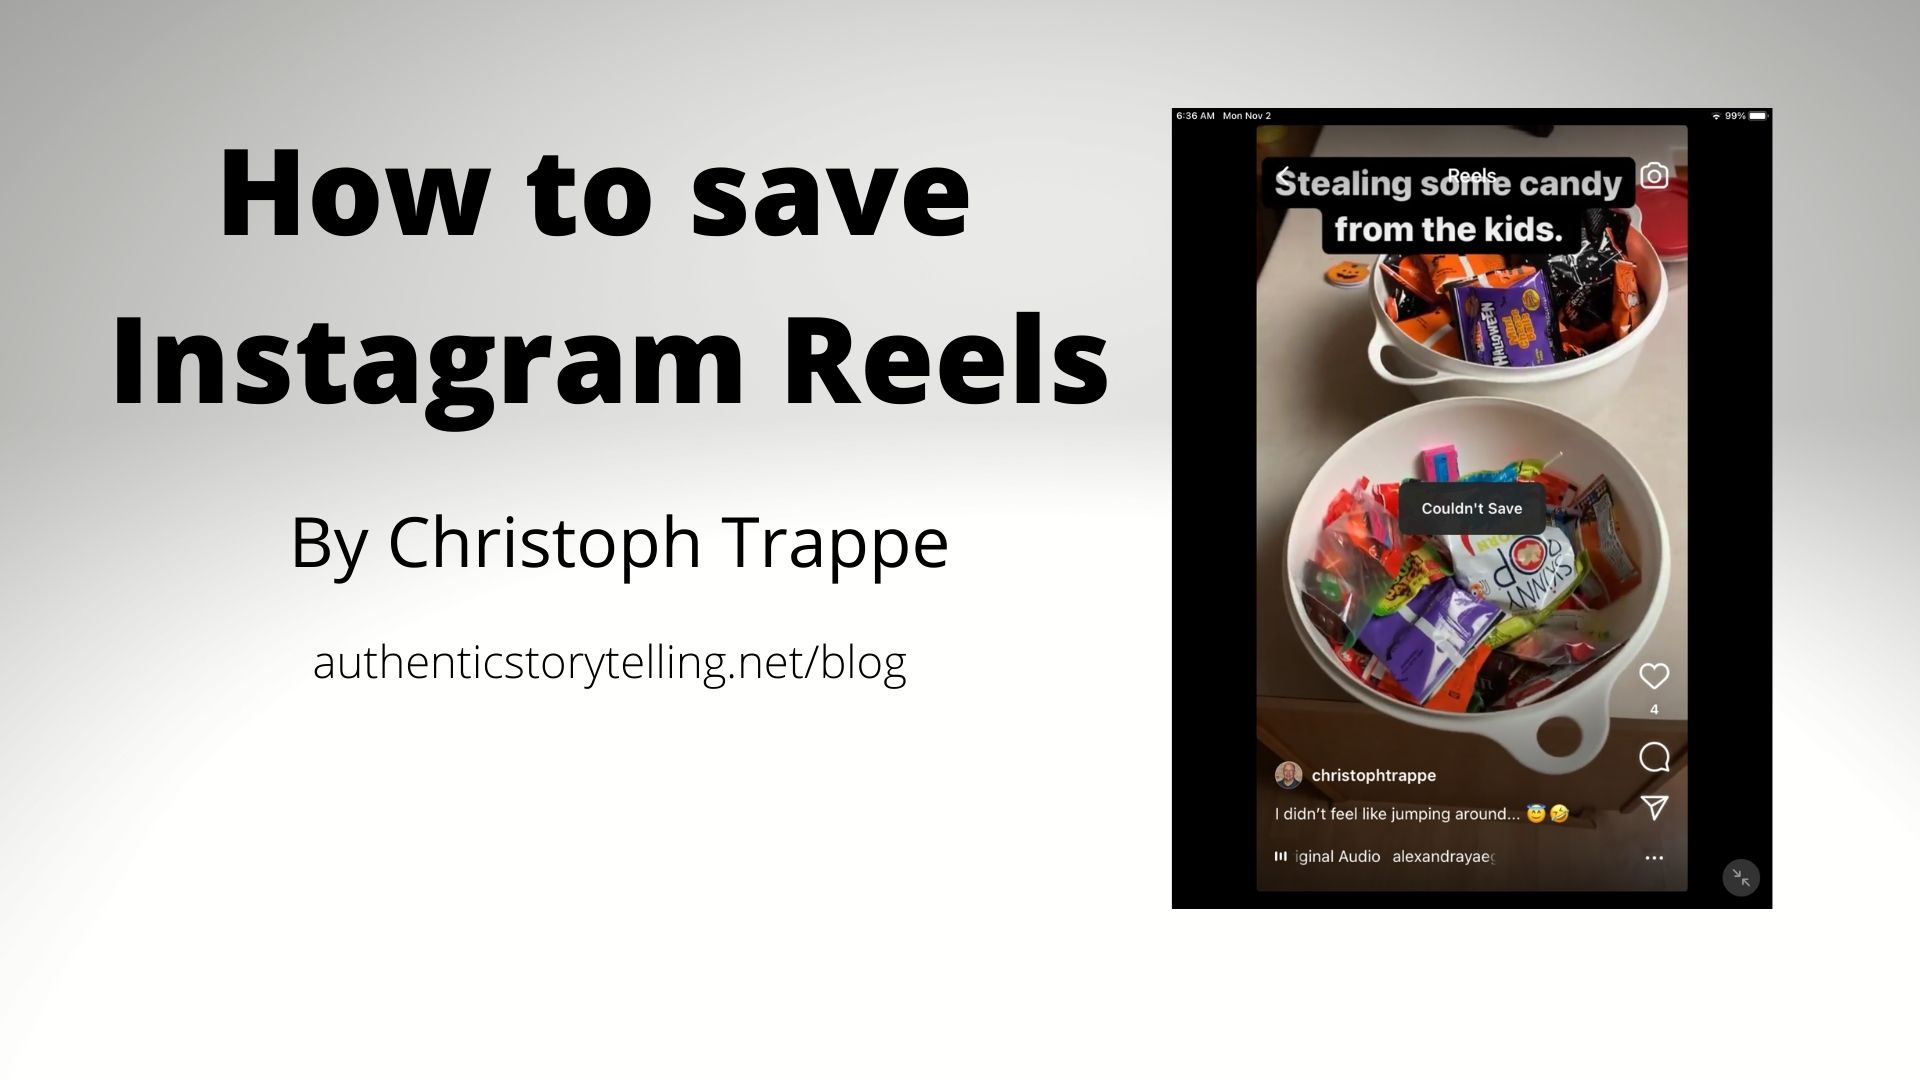
Instagram Reels are not saving correctly all the time to your camera roll, but there’s a way around it. Here’s how you save to your camera roll.
Instagram Reels – basically TikToks on IG – are fun and there are a ton of trends that keep popping up. Usually, those involve people dancing to something. For example, this one of people jumping somewhere to the sound of this song:
I participated like this:
There are probably ways brands can participate in these trends as well. Let’s brainstorm!
But then when I was done, I my Instagram Reel was not saving to my camera roll. Not automatically like my feed posts at least. I went to my Reel and clicked the three dots – as that’s usually where things are hidden. I got the option to save it from there. I wanted to save my Reel so I could use it in other places – like Facebook – as well.

But I got the “couldn’t save” warning.

Given that Reels using a trend with music like that will be shot in the app, that’s a problem. Here’s how you get around it in a nutshell:
- Share your Reel also to your Story
- Save the Story to your camera roll.
- Use the Story video saved to your camera roll.
Easy fix. If you don’t know how to do that, the next two sections walk you through the process specifically.
How to add your Reel or IG post to your Stories
Instagram is notorious for not letting us link to things – whether it’s websites or really anything, it seems the most restrictive of the social networks. I get it: They want people to stay in their app and not leave.
Instagram Stories do allow linking for some accounts – usually over 10,000. You can also run a sponsored Instagram post or Story and add links to that. Of course, that costs money! And you can now share your posts and Reels with a link back from Stories.
Here’s how the end results looks in Instagram Stories:
Click on the image, then the SEE POST text and that takes the user to the Instagram proper post on Instagram, which in this case is a picture of a box of my books which I was mailing to the Content Marketing World bookstore.
Here’s how to set this up.
1. Post your image to Instagram proper

2. Click that share button (in yellow above)
3. Click “add post to your story.”

4. Add additional animations, music, etc.

5. Add a graphic that encourages people to click. Search for “new post” in the search bar.

And then here’s the final product:

You can do this exact same thing with your Reel and it plays directly in your Story.
From there you can save the Story, which this section explains:
How to save your Instagram Story as video
Let’s walk through the steps of how to save your Instagram Story as a video. And in this case when I say video basically it’s all the pictures and if you shot video the video strung together as a video file.
Step one of course is to take some photos and/or video in your Instagram Story. Or share your posts or Reels.
Make sure that the media assets in the story actually make sense in the order that they’re in. For example, before I saved a travel day story I waited another hour so an older image that really had nothing to do with the travel day from yesterday could cycle out.
Once you’re done with your live Instagram Story, click on the little dots in the bottom right corner.
That gives you this option:

Click on save and then you can either save a specific photo or video that you’re currently viewing or the entire story:

If you click on “save story” it will create the video collage and save it to your camera roll:

In the case of saving one Reel, make sure to just save that one specific video and not the whole Story if you have more than one assets posted in the last 24 hours.
From there, you can upload it to all the different networks. For example, I used my Instagram Reel in my Facebook Story.
So that’s how you solve the problem of Instagram Reels not saving. It’s a bit more extra work, but it worked.


